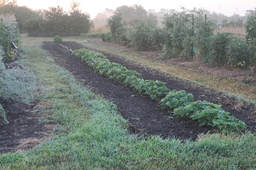
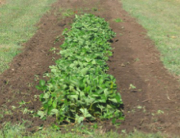
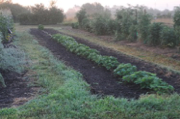
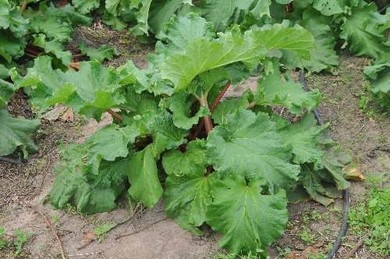
An August application of nitrogen on spring-bearing strawberries is important in order to increase the number of strawberries produced next spring. Plenty of daylight and warm temperatures during June, July and August promotes the growth of new runner, or daughter, plants. As daylight hours dwindle and temperatures grow cooler in September and October, fruit buds for the next year's fruit crop develop. To get a good berry crop next spring, it is important for strawberry plants to be vigorous during this period of fruit bud development.
Nitrogen, applied mid August, will help promote fruit bud development. A general application rate is ½ to 3/4 pound of actual nitrogen per 100 feet of row. The nitrogen may be in the form of a fertilizer mixture such as ammonium phosphate or 12-12-12, or in a fertilizer containing only nitrogen such as urea or ammonium nitrate. Some specific examples would include:
Iron + (11-0-0) at 6 pounds per 100 feet of row.
12-12-12 at 5.5 pounds per 100 feet of row.
Nitrate of Soda (16-0-0) at 4 pounds per 100 feet of row
Ammonium sulfate (21-0-0) at 3 pounds per 100 feet of row
Urea (46-0-0) at 1.5 pounds per 100 feet of row
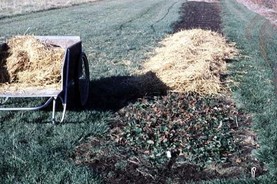
On sandy soils, the rate may be increased by about a half. After spreading the fertilizer, sprinkle the area applying at least a half-inch of water to move the nitrogen into the strawberry root areas. (Ward Upham)
Nitrogen, applied mid August, will help promote fruit bud development. A general application rate is ½ to 3/4 pound of actual nitrogen per 100 feet of row. The nitrogen may be in the form of a fertilizer mixture such as ammonium phosphate or 12-12-12, or in a fertilizer containing only nitrogen such as urea or ammonium nitrate. Some specific examples would include:
Iron + (11-0-0) at 6 pounds per 100 feet of row.
12-12-12 at 5.5 pounds per 100 feet of row.
Nitrate of Soda (16-0-0) at 4 pounds per 100 feet of row
Ammonium sulfate (21-0-0) at 3 pounds per 100 feet of row
Urea (46-0-0) at 1.5 pounds per 100 feet of row
On sandy soils, the rate may be increased by about a half. After spreading the fertilizer, sprinkle the area applying at least a half-inch of water to move the nitrogen into the strawberry root areas. (Ward Upham)


 RSS Feed
