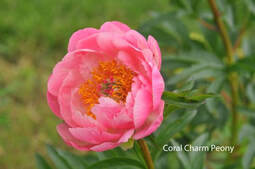
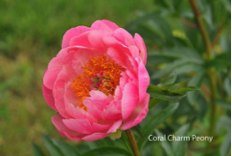
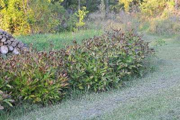
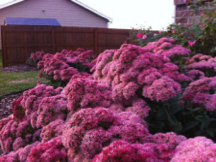
Peonies are a favorite perennial of gardeners because of their beauty and low maintenance. In Kansas, peonies provide a beautiful display of flowers each spring before Memorial Day. Though peonies can be left in place indefinitely, many gardeners wish to increase their plantings and use a process known as division to accomplish this. Keep in mind, however, that peonies often take about three years to return to full bloom and size after division.
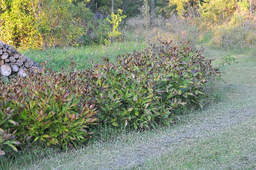
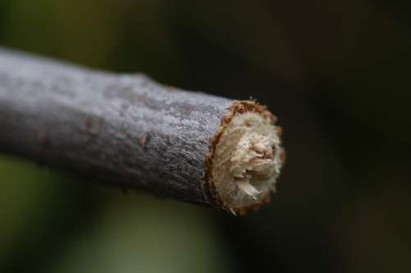
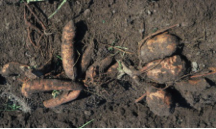
Fall is the traditional time to divide these plants. Peonies are essentially dormant by mid-August even though the foliage is still green. The first step in division is to remove the foliage. Then dig out the entire plant. Shake and wash off as much soil as possible so that the pink buds or "eyes" are visible. Peony roots are tough, and a sharp knife is needed to cut the roots into separate pieces. Make sure each division has three to four buds. Make sure the location chosen for planting receives at least a half-day of full sun. However, the more sun, the better. Space the plants so that there is at least 2 feet between dwarf types and 4 feet between the standard types.
Follow the same rules for planting these divisions as you do for new plants. Make sure the pink buds are about 1 inch below the soil surface. If they are set more than 2 inches deep, flowering may be delayed or completely prevented. As you set the plants, firm soil often as it is added around the plant. If the soil is not firmed, it can settle and pull the plant down with it. Water in well after planting and water as necessary through the fall and winter to keep the soil moist.
It is often a good idea to add mulch to the new planting to protect it from heaving. The alternate freezing and thawing that commonly occurs during Kansas winters can "heave" weakly rooted plants out of the ground. Add a mulch of straw, leaves, compost or other material after the soil freezes. Remember, it is not the cold that harms these plants but the alternate freezing and thawing of the soil. (Ward Upham)


 RSS Feed
