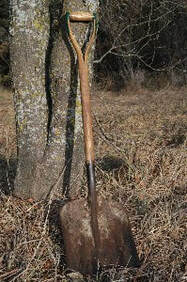
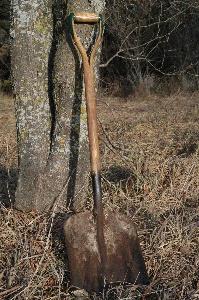
Hoes, shovels and other common garden tools often have wooden handles that can deteriorate over time. Storing tools in a protected location can slow that process, but normal use will still expose the tools to the elements. The end of the season is a good time to clean up and protect the handles so they will last for many years. Weathering can raise the grain of wood, resulting in splinters. A light sanding can smooth the handle. Follow that with a light application of wood preservative, linseed oil or polyurethane to protect the wood. Wipe off any excess after a few minutes as oil-based products can attract dirt. Cleaning any dirt off metal parts and coating with a light application of oil can prevent rust. Good tools are expensive. A few minutes of care after the season is over can help preserve them for many years to come. (Ward Upham)


 RSS Feed
