Daylilies need to be divided every three to four years to maintain vigor. Though they may be divided in early spring before growth starts, it is more common to divide them at this time of year. Many gardeners cut back the tops to about half their original height to make plants easier to handle.
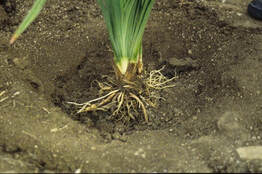
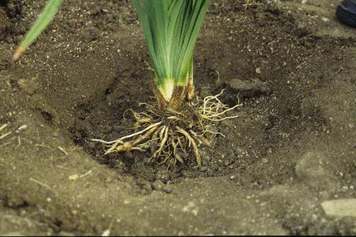
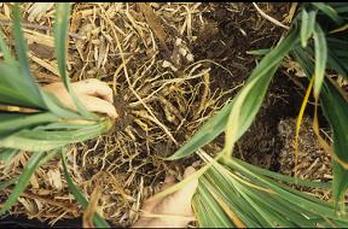
Daylilies have a very tough root system that can make them difficult to divide while in place. Dividing in place is practical if it hasn’t been long since the last division. In such cases, a spading fork can be used to peel fans from the existing clump. If the plants have been in place longer and are well grown together, it is more practical to divide them after the entire clump has been dug.
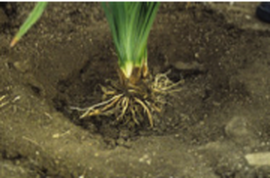
Use a spade to lift the entire clump out of the ground. Although it is possible to cut the clump apart with a sharp spade, you'll save more roots by using two spading forks back-to-back to divide the clump into sections. Each section should be about the size of a head of cauliflower. An easier method involves using a stream of water from a garden hose to wash the soil from the clump, and then rolling the clump back and forth until the individual divisions separate.
Space divisions 24 to 30 inches apart, and set each at its original depth. The number of flowers will be reduced the first year after division but will return to normal until the plants need to be
divided again. (Ward Upham)
Daylilies have a very tough root system that can make them difficult to divide while in place. Dividing in place is practical if it hasn’t been long since the last division. In such cases, a spading fork can be used to peel fans from the existing clump. If the plants have been in place longer and are well grown together, it is more practical to divide them after the entire clump has been dug.
Use a spade to lift the entire clump out of the ground. Although it is possible to cut the clump apart with a sharp spade, you'll save more roots by using two spading forks back-to-back to divide the clump into sections. Each section should be about the size of a head of cauliflower. An easier method involves using a stream of water from a garden hose to wash the soil from the clump, and then rolling the clump back and forth until the individual divisions separate.
Space divisions 24 to 30 inches apart, and set each at its original depth. The number of flowers will be reduced the first year after division but will return to normal until the plants need to be
divided again. (Ward Upham)


 RSS Feed
