The exact time to harvest blackberries varies by cultivar, with thorny blackberries normally ripening earlier than thornless types. But there are some general guidelines to keep in mind when harvesting blackberries. Do not pick blackberries too early or berry size and flavor will be
sacrificed.
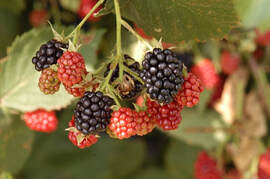
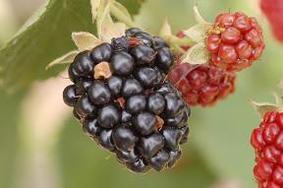
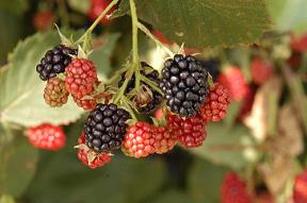
Two major characteristics determining maturity for harvest are fruit color and ease of separation. Blackberries usually develop a dull, black color with plump, juicy fruitlets as they ripen. The berries soften and produce the characteristic blackberry flavor. Full color often develops before the berries separate easily. Pick the berries by gently lifting with the thumb and fingers. The receptacle, or center part of the fruit, remains in the fruit when blackberries are harvested, unlike raspberries, which leave the receptacle on the bush. Take care not to crush the berries or expose them to the hot sun.
When possible, avoid picking berries when they are wet. They'll likely need picking every
second or third day. Cool the berries immediately after harvest to extend shelf life. Keep them
refrigerated under high relative humidity and use within three to five days. (Ward Upham)
sacrificed.
Two major characteristics determining maturity for harvest are fruit color and ease of separation. Blackberries usually develop a dull, black color with plump, juicy fruitlets as they ripen. The berries soften and produce the characteristic blackberry flavor. Full color often develops before the berries separate easily. Pick the berries by gently lifting with the thumb and fingers. The receptacle, or center part of the fruit, remains in the fruit when blackberries are harvested, unlike raspberries, which leave the receptacle on the bush. Take care not to crush the berries or expose them to the hot sun.
When possible, avoid picking berries when they are wet. They'll likely need picking every
second or third day. Cool the berries immediately after harvest to extend shelf life. Keep them
refrigerated under high relative humidity and use within three to five days. (Ward Upham)


 RSS Feed
