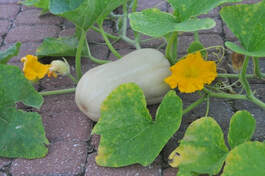
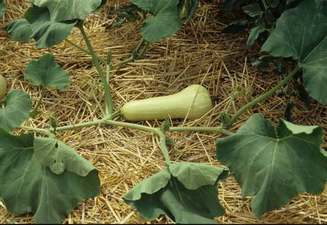
Summer squash such as zucchini and scallop are harvested while immature but winter squash such as acorn, hubbard and butternut are harvested later, in the mature stage, after the rind is tough and seeds have developed. We normally think September is the time that winter squash are harvested. Harvesting too early leads to fruit that shrivels and rots.
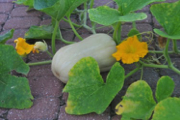
There are two main characteristics that help tell us when winter squash are mature: color and rind toughness. Winter squash change color as they become mature. Butternut changes from light beige to deep tan. Acorn is a deep green color but has a ground spot that changes from yellow to orange when ripe. Gray or orange is the mature color for hubbard.
A hard, tough rind is another characteristic of mature winter squash. This is easily checked by trying to puncture the rind with your thumbnail or fingernail. If it easily penetrates the skin, the squash is not yet mature and will lose water through the skin -- causing the fruit to dry and shrivel. Also, immature fruit will be of low quality. The stem should also be dry enough that excessive water doesn’t drip from the stem.
Winter squash should be stored cool with elevated humidity. Ideal conditions would be 55 to 60 degrees F and 50 to 70 percent relative humidity. Under such conditions, acorn squash will usually last about 5 to 8 weeks, butternuts 2 to 3 months and hubbards 5 to 6 months. (Ward Upham)


 RSS Feed
