
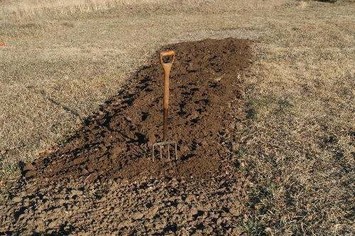
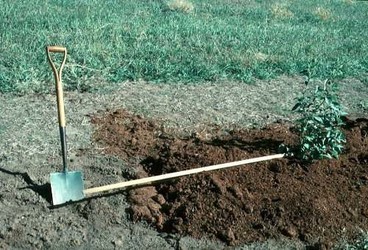
Autumn is an excellent time to add organic materials and till garden soils. Winter can still be a good time to take care of this chore as long as the soil isn’t frozen. It is far wiser to till now than to wait until spring when cold, wet conditions can limit your ability to work soils easily. Working soil when it is wet destroys soil structure and results in hard clods that are very slow to break down. On the other hand, dry soil may need to be watered so it can be more easily tilled. Be sure to wait several days after watering to let soil moisture levels moderate. You want the soil moist, not wet or dry, when tilling.
There is a limit to how much organic material such as leaves can be added in one application. Normally, a layer 2 inches deep is adequate with 5 to 6 inches being the maximum that can be added at one time. Shredding the material before application encourages faster and more complete decomposition due to increased surface area. Remember, soil preparation is an important key to a successful garden. (Ward Upham)
There is a limit to how much organic material such as leaves can be added in one application. Normally, a layer 2 inches deep is adequate with 5 to 6 inches being the maximum that can be added at one time. Shredding the material before application encourages faster and more complete decomposition due to increased surface area. Remember, soil preparation is an important key to a successful garden. (Ward Upham)


 RSS Feed
