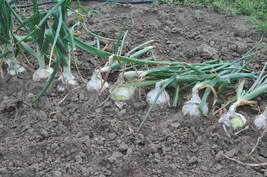
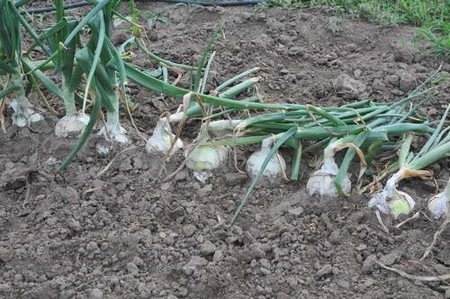
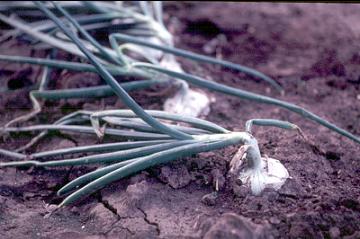
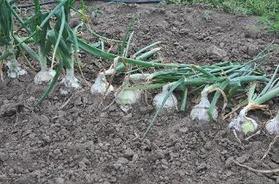
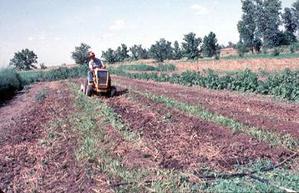
Onions are ready to harvest when about half the plants have tops that have fallen over. This is a sign that the onions are mature and need to be pulled out of the ground. Bulbs may sunburn without the foliage to protect them. The secret to onions keeping well is to allow the tops to dry completely before storage. Move onions to a shaded, well-ventilated area after harvest.
After tops are completely dry, store in a cool, dry location. Large-necked onions take more time to dry than small-necked onions such as Bermuda types. Avoid storage in plastic bags because the lack of air circulation will shorten storage life. Use an open, mesh bag instead. (Ward Upham)
After tops are completely dry, store in a cool, dry location. Large-necked onions take more time to dry than small-necked onions such as Bermuda types. Avoid storage in plastic bags because the lack of air circulation will shorten storage life. Use an open, mesh bag instead. (Ward Upham)


 RSS Feed
