Video of the Week:
Will Fall Mums Last Through the Winter?
Ornamentals:
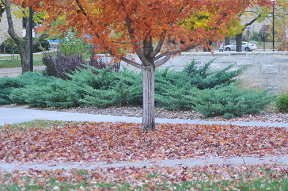
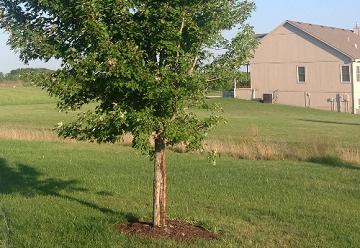
Fall Colors of Trees
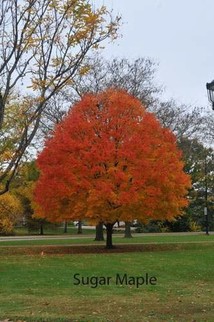
Part of the allure of fall foliage is color variation. There are trees that turn red, purple, yellow, orange and brown.
Specific plant pigments determine individual colors. Foliage derives its normal green color from chlorophyll, the substance that captures the energy of the sun. Other pigments produce fall colors. Reds and purples are caused by anthocyanins, yellows by xanthophylls, and oranges by a combination of carotenes and xanthophylls. Browns are the result of tannins present in the leaf. Most of these substances are present throughout the growing season but are masked by the green color produced by chlorophyll. Anthocyanins are the exception and are produced after the chlorophyll is destroyed in the fall.
If you have ever seen pictures of New England in the fall, you have probably wondered why trees in Kansas usually do not color as well. This difference is partly because of the tree species prevalent in New England. Certain oaks and maples naturally produce good color. Coloring also is influenced by the weather.
Warm, sunny days and cool nights are ideal for good color. The sunny days encourage photosynthesis and, thus, sugar accumulation in the leaves. As fall progresses, each leaf develops an abscission layer at the base of the petiole, or leaf stem, that prevents these sugars from being transported down the trunk to the roots for storage. This high sugar content in the leaves produces more intense colors. Cloudy days and warm nights prevent some of the sugar accumulation in the leaves and results in less vibrant colors.
Weather during other parts of the growing season also can have an effect. Heavy rains in the early spring or hot, dry weather during the summer can both have a deleterious effect on fall color.
The length of time a tree maintains fall color also depends on weather. Reds, yellows and oranges are short-lived when trees undergo frosts and freezes. (Ward Upham)
Flowers:
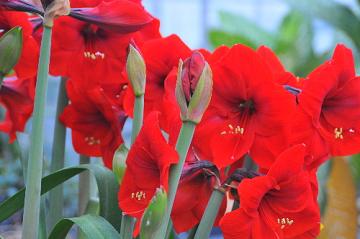
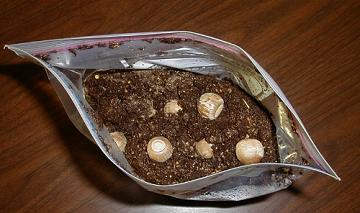
There is Still Time to Plant Spring-Flowering Bulbs
Generally, it is recommended to plant hardy bulbs (especially daffodils) in October to give them enough time to root before winter. But it is certainly not too late to plant them now. As long as the soil temperatures are above 40 degrees F, the bulbs should continue root development. You can find the previous week’s soil temperature readings for areas across the state from our Weather Data Library at http://mesonet.k-state.edu/weather/soil/
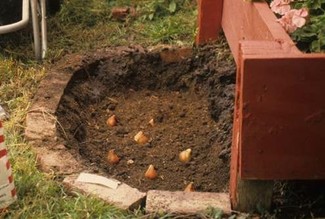
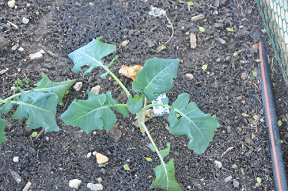
Although many of the best bulbs have probably already been purchased, garden centers may still have a good selection. Be sure to select large, firm bulbs that have not begun to sprout. While many bulbs can adapt to a wide range of soil types, none can tolerate poorly drained soil. Prepare the planting bed by adding organic matter such as peat moss, well-rotted manure, or compost and mix into the soil.
Adequate fertility is essential. It is best to rely on a soil test to determine what nutrients are needed. Garden soils that have been fertilized regularly in the past may have excess levels of phosphorus. Excess phosphorus can interfere with the uptake of other essential micronutrients. In such cases, it would be better to use a fertilizer relatively high in nitrogen such as a 29-5-4, 27-3-3, or something similar. Apply these fertilizers at the rate of 2/3 pound per 100 square feet. Organic sources of fertilizers low in phosphorus include blood meal (12-0-0) applied at 5 to 10 pounds per 100 square feet, cottonseed meal (6-0.4-1.5) applied at the rate of 10 pounds per 100 square feet and soybean meal (7-2-1) applied at the rate of 8 pounds per 100 square feet.
In the absence of a soil test, or if phosphorus is needed, add a low analysis, balanced fertilizer such as 5-10-5 or 6-10-4 at the rate of 2 to 3 pounds per 100 square feet of bed. Mix all amendments thoroughly with the soil before planting the bulbs.
The size and species of the bulb determine how deep to plant. In general, the depth to the bottom of the bulb should be about 2 to 3 times the size of the bulb, but check the planting instructions specific to each particular flower. (Ward Upham)
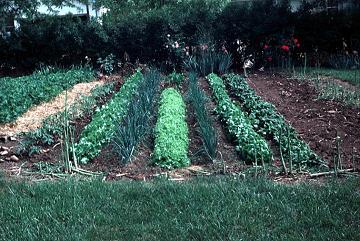
Perennial Garden Clean-Up
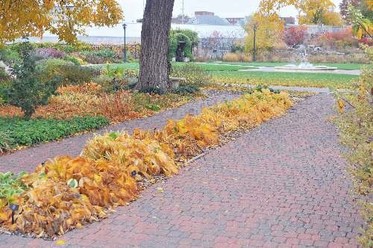
Fall is traditionally a time for cleaning up gardens. Normally, we recommend clear-cutting dead stems to help control insect and disease problems. With herbaceous perennials that have been pest free, you might want to consider leaving some to provide structure, form, and color to the winter garden. For example, ornamental grasses can be attractive even during the winter months. But those near structures should be cut to the ground because they can be a fire hazard. Perennials with evergreen or semi-evergreen foliage can provide color. Of course, some perennials are naturally messy after dormancy and should be cut back in the fall.
Foliage can be left for other reasons. For example, foliage left on marginally hardy plants such as tender ferns helps ensure overwintering of plant crowns. Also, seed heads on some perennial plants can provide seed for birds. (Ward Upham)
Foliage can be left for other reasons. For example, foliage left on marginally hardy plants such as tender ferns helps ensure overwintering of plant crowns. Also, seed heads on some perennial plants can provide seed for birds. (Ward Upham)
Miscellaneous:
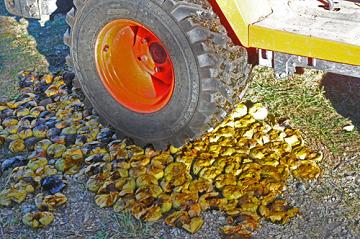
Harvesting and Curing Black Walnuts
Black walnuts are ready to be harvested when the hull can be dented with your thumb. You can also wait until the nuts start falling from the tree. Either way it is important to hull walnuts soon after harvest. If not removed, the hull will leach a stain through the nut and into the meat. The stain will not only discolor the meats but also give them an off flavor.
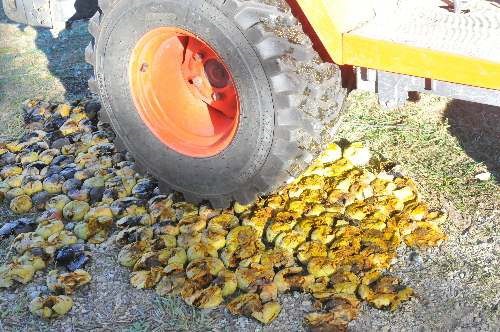
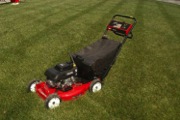
There are several ways to hull walnuts including running them through a corn sheller or pounding each nut through a
hole in a board. The hole must be big enough for the nut but smaller than the hull. An easier way is to run over the nuts with a lawn tractor. This will break the hull but not crack the nut.
Note that walnut hulls contain a dye that will stain concrete, your hands or about anything else it touches. Wear gloves as the stain is almost impossible to remove.
Wash hulled nuts by spreading them out on the lawn or on a wire mesh and spraying them with water or placing them in a tub of water. If you place them in a tub, the good nuts should sink. Those that float are probably not well-filled with kernels. Next, dry the nuts by spreading them in layers no more than three deep in a cool, shady and dry place such as a garage or tool shed. Drying normally takes two weeks. (Ward Upham)
Preserving Garden Tools
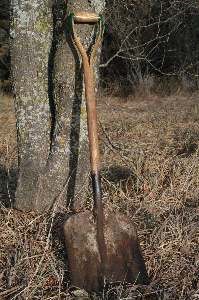
Hoes, shovels and other common garden tools often have wooden handles that can deteriorate over time. Storing tools in a protected location can slow that process, but normal use will still expose the tools to the elements. The end of the season is a good time to clean up and protect the handles so they will last for many years. Weathering can raise the grain of wood, resulting in splinters. A light sanding can smooth the handle. Follow that with a light application of wood preservative, linseed oil or polyurethane to protect the wood. Wipe off any excess after a few minutes as oil-based products can attract dirt. Cleaning any dirt off metal parts and coating with a light application of oil can prevent rust. Good tools are expensive. A few minutes of care after the season is over can help preserve them for many years to come. (Ward Upham)
Contributors: Ward Upham, Extension Associate
Contributors: Ward Upham, Extension Associate


 RSS Feed
