
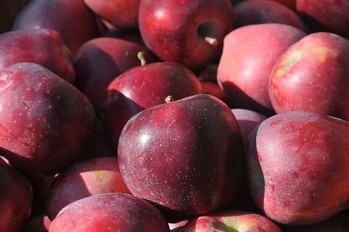
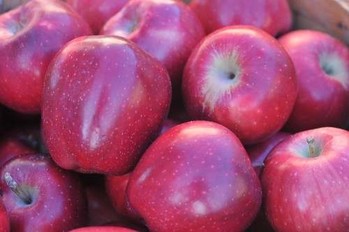
You can enjoy apples from January to June – with the right conditions. Some apple cultivars can be stored for longer periods than others. Some cultivars will stay in firm, crisp condition for about 6 to 8 months with good storage conditions. The approximate length of time cultivars will keep well under refrigerated conditions are as follows:
Wealthy: 60 days
Paulared: 90 days
Gala: 120 days
Jonathan: 120 days
Grimes Golden: 120 days
Golden Delicious: 150 days
Empire:150 days
Delicious: 160 days
Braeburn: 180 days
Idared: 200 days
Rome Beauty: 220 days
Winesap: 220 days
Fuji: 240 days
Granny Smith: 240 days
Arkansas Black: 240 days
The condition of the apples and how they are stored will strongly influence the storage period. Some guidelines to help assure good quality and maximum storage life of apples include:
* Store only the best quality.
* Pick as they are first maturing.
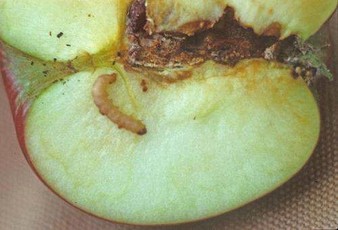
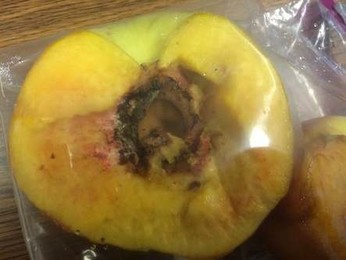
* Avoid skin breaks, disease or insect damage, and bruises on individual fruit
* Store in a plastic bag to help retain moisture in the apples. The bag should have a few small holes for air exchange. The bags of apples may be stored in boxes to prevent bruising if they must be stacked or moved from time to time.
* Refrigerate at about 35 degrees F. An extra refrigerator works well.
*Sort about every 30 to 40 days to remove fruit that may be beginning to rot. (Ward Upham)
Wealthy: 60 days
Paulared: 90 days
Gala: 120 days
Jonathan: 120 days
Grimes Golden: 120 days
Golden Delicious: 150 days
Empire:150 days
Delicious: 160 days
Braeburn: 180 days
Idared: 200 days
Rome Beauty: 220 days
Winesap: 220 days
Fuji: 240 days
Granny Smith: 240 days
Arkansas Black: 240 days
The condition of the apples and how they are stored will strongly influence the storage period. Some guidelines to help assure good quality and maximum storage life of apples include:
* Store only the best quality.
* Pick as they are first maturing.
* Avoid skin breaks, disease or insect damage, and bruises on individual fruit
* Store in a plastic bag to help retain moisture in the apples. The bag should have a few small holes for air exchange. The bags of apples may be stored in boxes to prevent bruising if they must be stacked or moved from time to time.
* Refrigerate at about 35 degrees F. An extra refrigerator works well.
*Sort about every 30 to 40 days to remove fruit that may be beginning to rot. (Ward Upham)


 RSS Feed
