
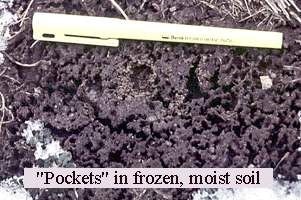
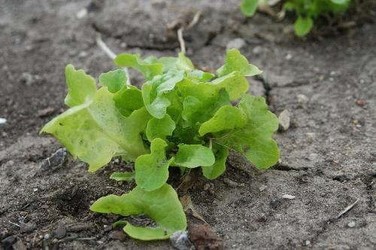
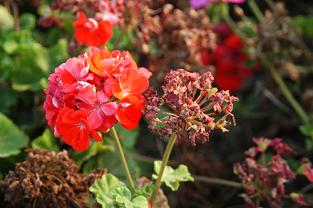
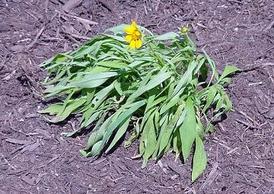
Bearded irises are well adapted to Kansas and multiply quickly. After several years, the centers of the clumps tend to lose vigor, and flowering occurs toward the outside. Dividing iris every three to five years will help rejuvenate the planting and increase flowering.
Iris may be divided from late July through August, but late July through early August is ideal.
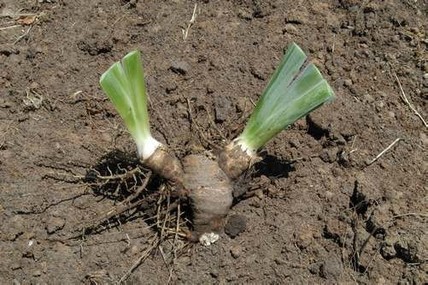
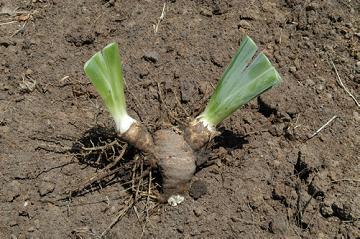
Because iris clumps are fairly shallow, it is easy to dig up the entire clump. The root system of the plant consists of thick rhizomes and smaller feeder roots. Use a sharp knife to cut the rhizomes apart so each division consists of a fan of leaves and a section of rhizome. The best divisions are made from a double fan that consists of two small rhizomes attached to a larger one, which forms a Y-shaped division. Each of these small rhizomes has a fan of leaves. The rhizomes that do not split produce single fans. The double fans are preferred because they produce more flowers the first year after planting. Single fans take a year to build up strength.
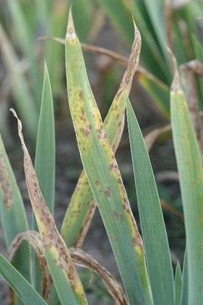
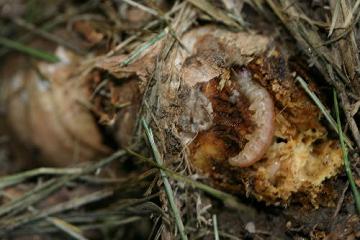
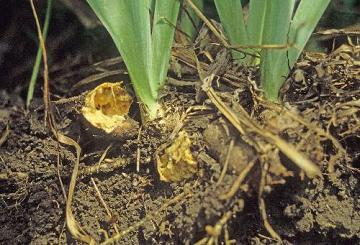
Rhizomes that show signs of damage due to iris borers or soft rot may be discarded, but you may want to physically remove borers from rhizomes and replant if the damage is not severe. It is possible to treat mild cases of soft rot by scraping out the affected tissue, allowing it to dry in the sun and dipping it in a 10 percent solution of household bleach. Make the bleach solution by mixing one-part bleach with nine parts water. Rinse the treated rhizomes with water and allow them to dry before replanting.
Cut the leaves back by two-thirds before replanting. Prepare the soil by removing weeds and fertilizing. Fertilize according to soil test recommendations or by applying a complete fertilizer, such as a 10-10-10, at the rate of 1 pound per 100 square feet. Mix the fertilizer into the soil to a depth of 6 inches. Be wary of using a complete fertilizer in areas that have been fertilized heavily in the past. A growing number of soil tests show high levels of phosphorus. In such cases, use a fertilizer that has a much higher first number (nitrogen) than second (phosphorus). (Ward Upham)
Iris may be divided from late July through August, but late July through early August is ideal.
Because iris clumps are fairly shallow, it is easy to dig up the entire clump. The root system of the plant consists of thick rhizomes and smaller feeder roots. Use a sharp knife to cut the rhizomes apart so each division consists of a fan of leaves and a section of rhizome. The best divisions are made from a double fan that consists of two small rhizomes attached to a larger one, which forms a Y-shaped division. Each of these small rhizomes has a fan of leaves. The rhizomes that do not split produce single fans. The double fans are preferred because they produce more flowers the first year after planting. Single fans take a year to build up strength.
Rhizomes that show signs of damage due to iris borers or soft rot may be discarded, but you may want to physically remove borers from rhizomes and replant if the damage is not severe. It is possible to treat mild cases of soft rot by scraping out the affected tissue, allowing it to dry in the sun and dipping it in a 10 percent solution of household bleach. Make the bleach solution by mixing one-part bleach with nine parts water. Rinse the treated rhizomes with water and allow them to dry before replanting.
Cut the leaves back by two-thirds before replanting. Prepare the soil by removing weeds and fertilizing. Fertilize according to soil test recommendations or by applying a complete fertilizer, such as a 10-10-10, at the rate of 1 pound per 100 square feet. Mix the fertilizer into the soil to a depth of 6 inches. Be wary of using a complete fertilizer in areas that have been fertilized heavily in the past. A growing number of soil tests show high levels of phosphorus. In such cases, use a fertilizer that has a much higher first number (nitrogen) than second (phosphorus). (Ward Upham)


 RSS Feed
